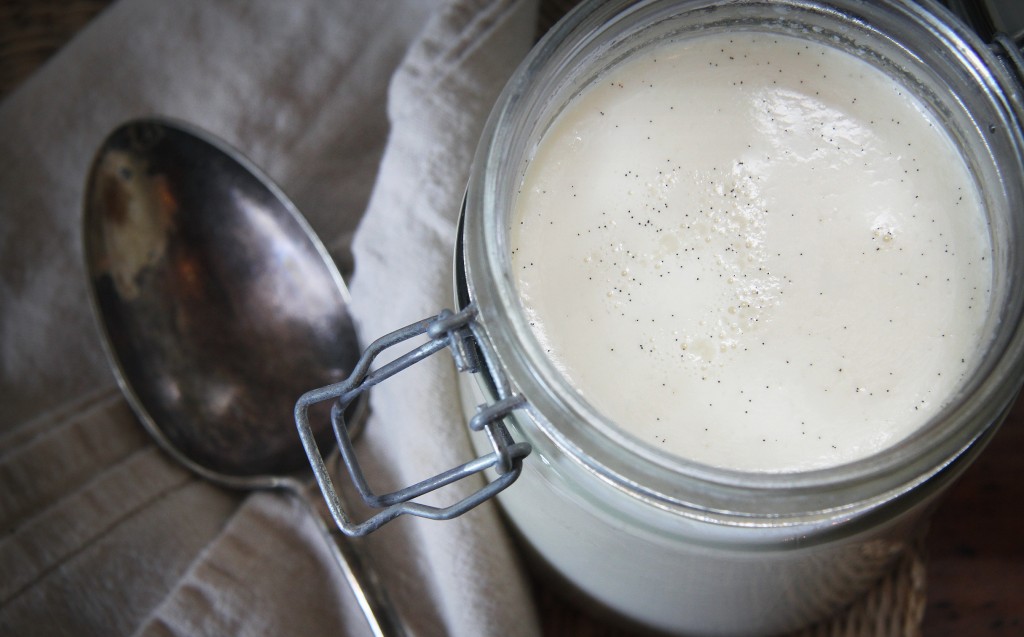
Homemade Sweetened Yoghurt & Bread

Homemade Sweetened Yoghurt - Small Batch
Click image for recipe – Small batch sweetened yoghurt

Homemade Sweetened Yoghurt & Bread… Yoghurt is a simple enough food to buy but it can get expensive. I particularly like the sweetened yoghurt freshly made at my local grocer; it’s lusciously thick and creamy and lightly sweetened but we do get through quite a bit of it so this is the focus for my homemade yoghurt.

After reading the final results of other people’s homemade yoghurts (the main complaint being that it wasn’t as thick as store bought varieties, alot even separated) I chose to add a thickener, pectin to be exact, just to be safe … I really wanted to replicate my favourite yoghurt and quickly. If you aren’t in a hurry then ideally leave it to strain in a muslin cloth over a bowl to catch the whey. This will produce a deliciously thick and creamy yoghurt -You won’t be able to strain it if you have added gelatin or pectin.

Yoghurt is basic enough to make, the challenge is having a source of heat to keep it warm for 10-12 hours (times do vary immensely though). I decided to do the esky method, but you can do any of the following methods:

  • put it in a non draughty area with a towel around it
  • place it in a thermos
  • remove the shelves from your dehydrator and leave it at 45°C / 113°F
  • place it on a brewer’s heat pad with a tea towel over it… they all do the same job.

Your yoghurt can set anytime from only a few hours, but you can leave it for as long as a day. The sour taste will get stronger the longer it’s left.

If you want a basic greek yoghurt then omit the sugar and vanilla and any thickeners. Just make as the method below and then pour into a strainer lined with muslin and leave to drain in the fridge till you have achieved your desired consistency.

It’s important to use freshly opened, ‘live’ yoghurt in your first batch to ensure the bacteria is at it’s freshest then, importantly, remember to make sure you to set aside a 1/4 cup of your yoghurt to use as a starter batch to get another lot of yoghurt going. You can generally get about 4 cycles from your homemade yoghurt before you will need to buy a fresh batch of live yoghurt to use as your starter.

Other variables you can use when making your yoghurt include using pure cream or half cream with half milk instead of straight milk.

After  you have tried your hand at yoghurt then get stuck into my Sweet Yoghurt Bread Rolls

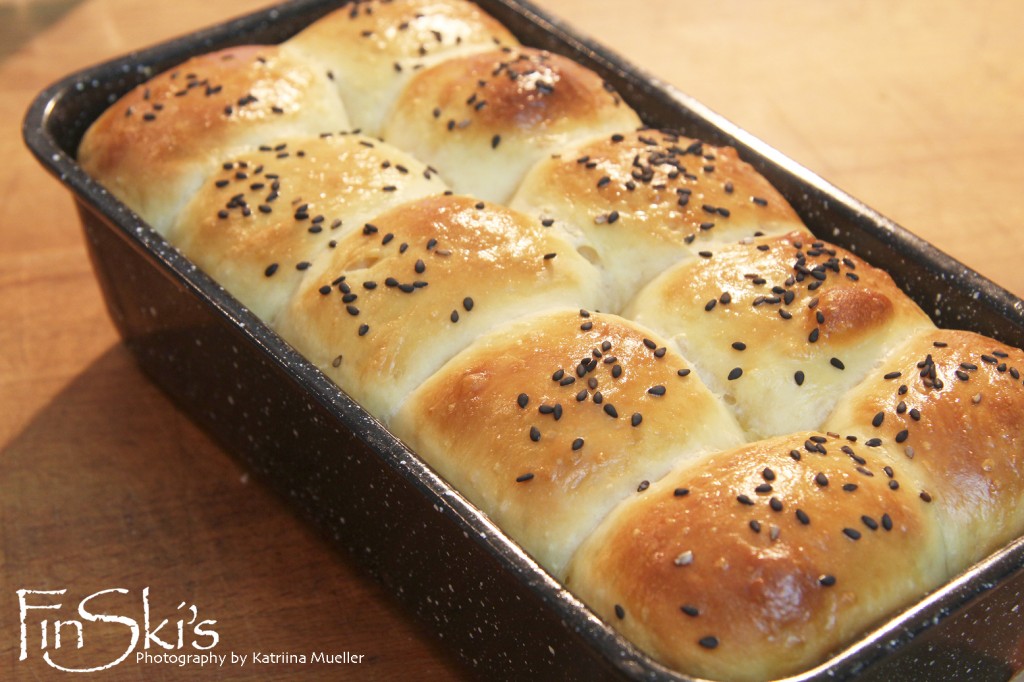
Sweet Yoghurt Bread Rolls
Click here for recipe – Sweet Yoghurt Bread Rolls

This recipe comes direct from a website I stumbled across, Pure Enjoyment. I didn’t alter anything in the ingredients, (I think that is only the second time I have ever done that!) It’s faultless! Thank you so much for sharing this with the world :)

The crumb is a lighter version of brioche but with a flavour that has a delicate tang due to the yoghurt. I used my homemade Sweetened Yoghurt for this recipe but you could certainly go out and buy a favourite yoghurt (at Pure Enjoyment she and quite a few of her followers used a chunky fruit yoghurt) The aroma is heavenly and it’s just so moreish.

Timeline if you were to make it on the weekend… take 10 minutes to make the dough after breakfast and then leave to prove till lunch time, spend another 10 minutes – if that – making the 10 balls and then leave to prove till 20 minutes before afternoon drinks. Cook and then you have amazing sweet bread rolls to have with a beer.

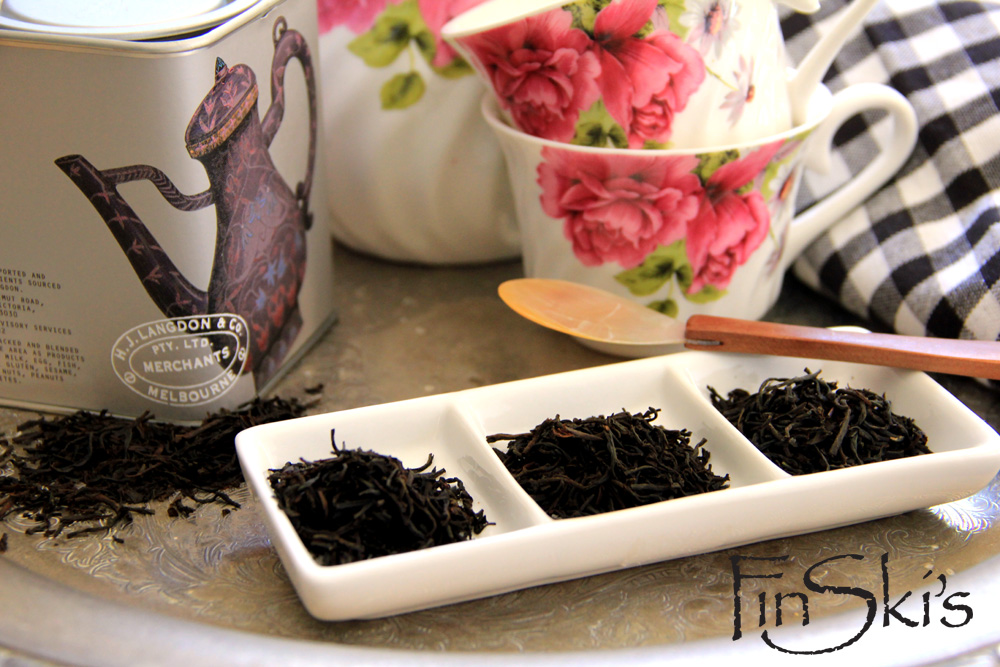
What’s your cup of tea?

FinSki's Tea1My morning routine starts the night before. On a week day I get my clothes ready for the office, laid out neatly on the ironing board ready to be put on at a moments notice after I jump out of the shower. I have my hand bag packed with the next days necessities, waiting by the door. I have my daughters lunch box ready so that come morning time I just need to fill it with the days fuel (not that it gets eaten anyway!). But the most important aspect of my morning routine is to ensure that my kettle is filled to the top, that my mug is ready and positioned carefully next to the kettle with a tea spoon of sugar sitting in the bottom with my favourite tea waiting patiently next to the mug, waiting to be infused in hot water the minute I jump out of my shower. Without my morning infusion the rest of the day can literally fall apart.

The morning routine fell into a heap this week when I opened the pantry cupboard only to reveal no tea! It wasn’t just a matter of running to the shop and picking up the stock standard Earl Grey flavour. Tea for me is like buying coffee, I have my favourite select few brands and straying from those is not an option. Take the religious 8.30 am coffee at work, I refuse to get it from anywhere else even though I manage to pass 4 coffee shops!

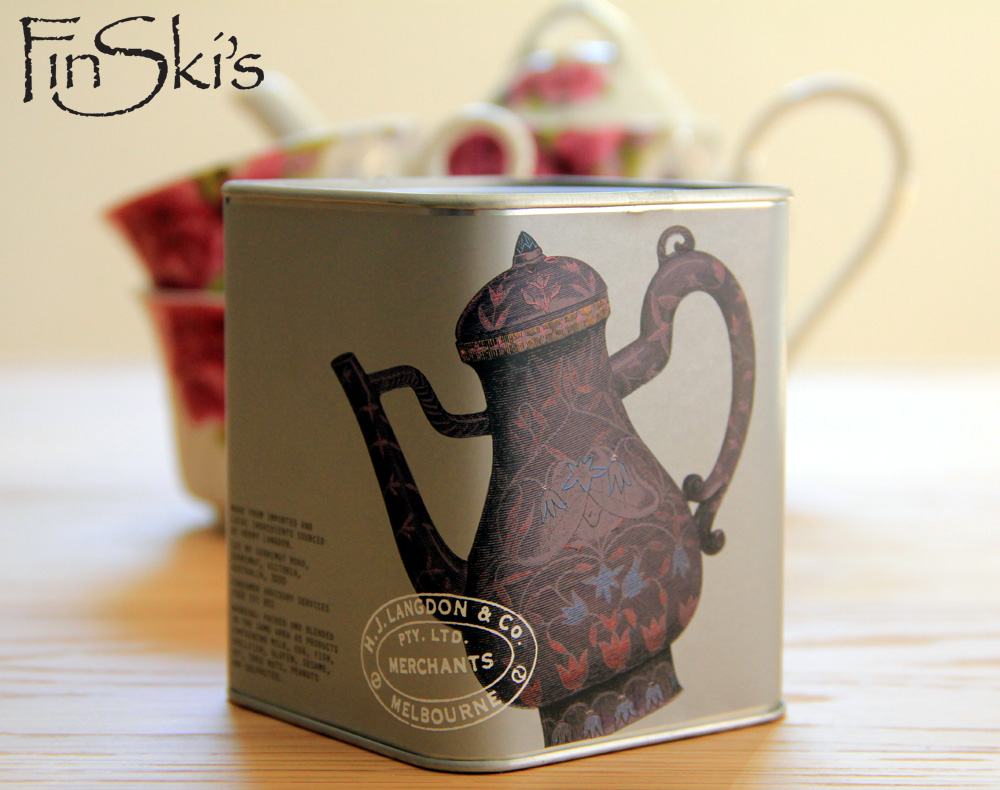
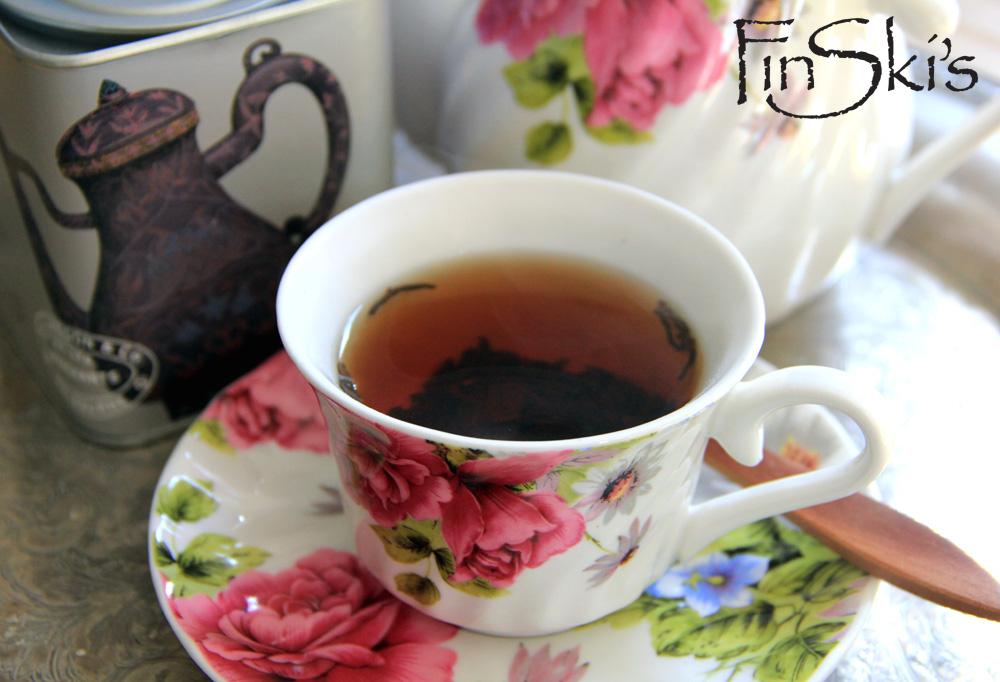
Balance was restored again that evening when I purchased one of my favourite teas, a Henry Langdon, Earl Grey.

FinSki's Tea3I was introduced to Henry Langdon tea about 4 years ago by a rather very strange colleague at work who thought that when we die we get collected in a space ship and are shipped off to a place in heaven, anyway that’s another story for another post! As strange as this lady was, she knew her tea! Thanks to her I keep a box of this delicious tea in my cupboard and very secretly only share it with myself! It’s my little indulgence.

FinSki's Tea4Until this week I had absolutely no idea how popular tea consumption was! Next to water tea is the most widely consumed drink in the world! I also didn’t know that different teas should be brewed at different water temperature levels for best results. For example water temperature for a classic black tea should be at 99°C, white tea at 65-70°, yellow tea at 70-75°C, and green tea at 75-80°. Do you think that this really matters? If you are a bit of a tea expert I’d loved to know!

Growing up tea would be served during breakfast, lunch and dinner, depending on what was on the menu. We drank tea black, with the tea leaves still sitting at the bottom of the cup/mug. Mum would squeeze a small amount of lemon juice and it tasted fantastic. Tea, sourdough bread with some cold cuts!

How do you take your tea and what’s your favourite?

Bella 🙂

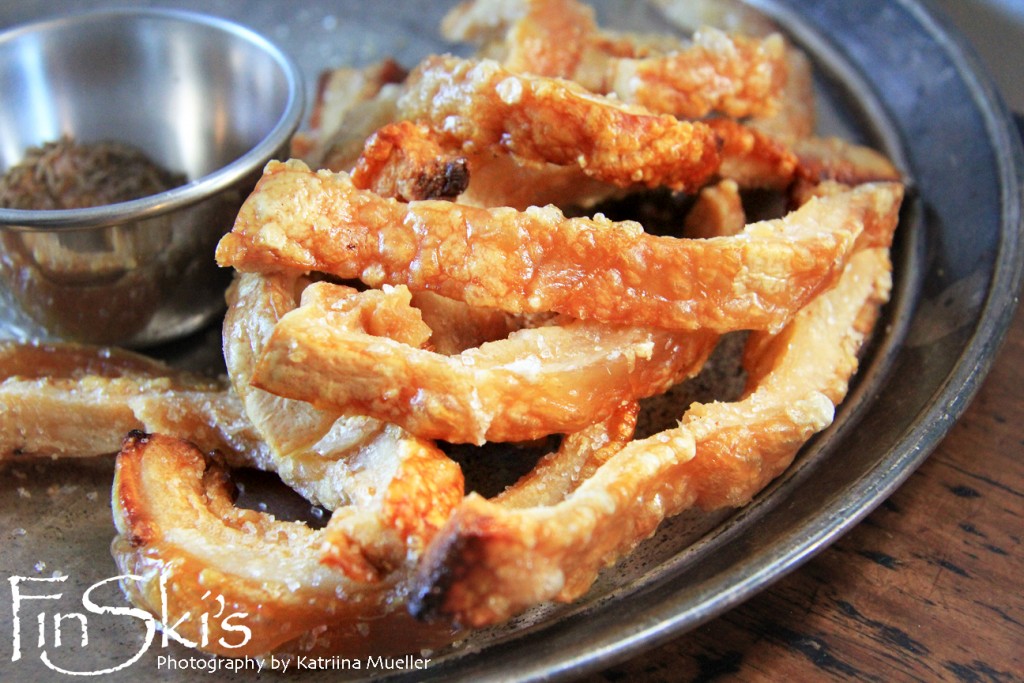
Pork Sticks w/ Spicy Cumin Salt aka Pork Scratchings

Pork Scratchings w Spicy Cumin Salt
Click image for recipe

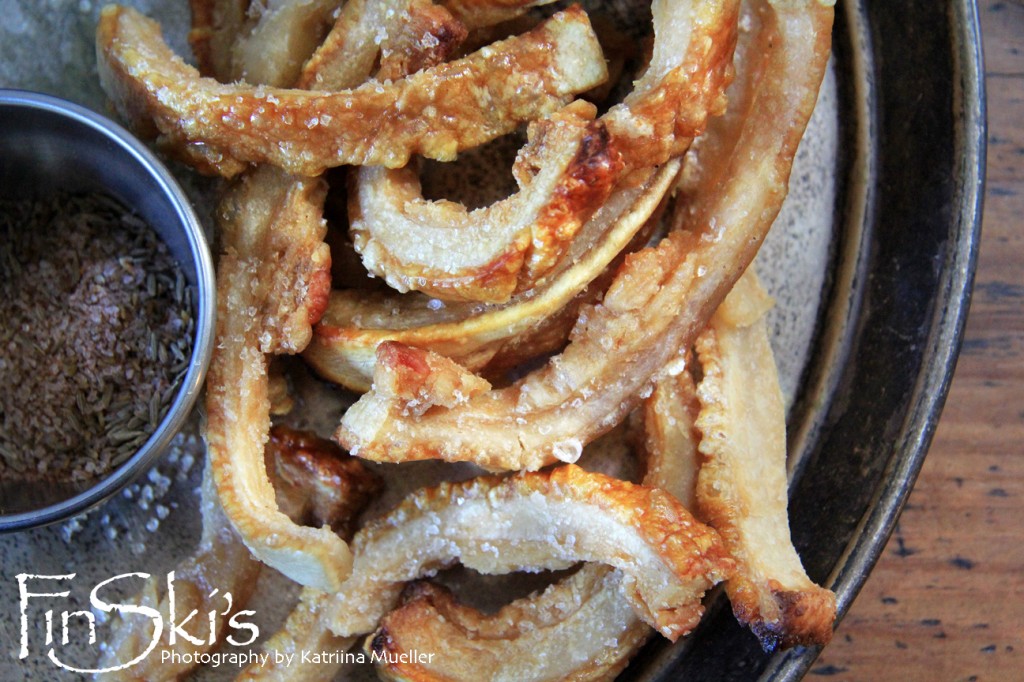
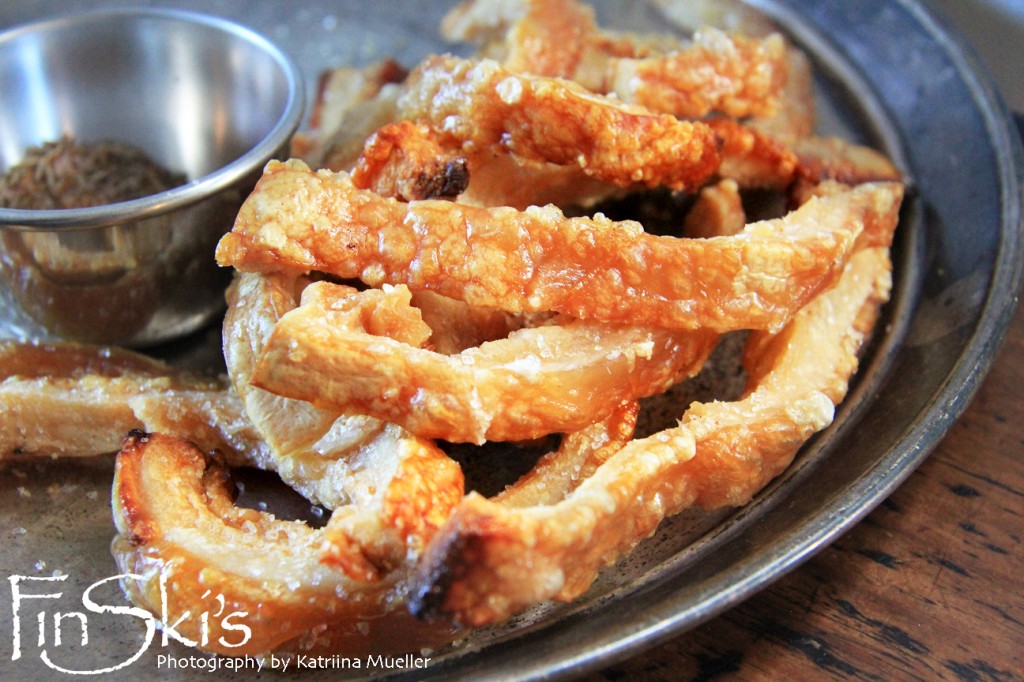
Pork Sticks w/ Spicy Cumin Salt aka Pork Scratchings are an incredibly moreish drinking snack that will have everyone wanting more. It really is impossible to walk pass a bowl of these crunchy, crispy pork sticks, especially when lightly dusted with the Spicy Cumin Salt.

These are a great starter to have with drinks, even a great snack to make for the movies as it stores well in sealed containers. If you just can’t wait till christmas for a pork crackling hit then here is your salvation.

Just remember that the pork skin does shrink alot from it’s original size, so when you are buying it buy what you think will be enough, then double it; trust me.

Happy crunching!  Blondie

Pork Sticks w/ Spicy Cumin Salt aka Pork Scratchings

Napoleonki – the Polish version of Millue Feuille

FinSki's Napoleonki1
Click on image for recipe

Desserts are not my ‘thing’, I mean I am happy to eat them but my cooking skill lie with savory food. My hubby isn’t a huge dessert fan either so I don’t particularly go out of my way to make desserts each week. The extent of dessert in our household is ensuring that we have a constant (err never ending) supply of chocolate mini magnums in the fridge for Imogen, all hell can break loose otherwise! I’m also not very good at making desserts and have had many failed attempts. Give me a mystery box of savoury ingredients and I can guarantee you that I will be able to whip something up, without a recipe. Sweet dishes are my nemesis.

If there is one thing that I admire about my mum that’s the fact that she can can whip up a Polish dessert blind folded! When I visit my parents house there is always a cake, a tort, a slice or some other sweet hiding in the fridge. I always get excited about visiting them because I know I’ll be eating wholesome good home cooked food, but then I end up leaving very full, simply because I can’t resist the temptation of sampling everything else that she has in her fridge, including the sweet stuff which always takes be back to my childhood days of living at home.

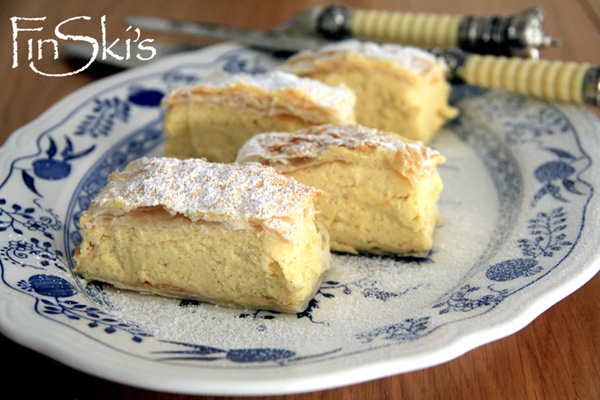
Each May I host a Mother’s Day lunch at my place and this year mum made Napoleonki which are another one of Poland’s best known desserts and share a striking similarity to the French dessert Mille Feuille, a vanilla/custard type slice also known as Napoleon.

I haven’t eaten Napoleonki for probably about 10 years and for very good reasons, one because just looking at them makes me put on about 10 kilos! Two because once I have one, I want another.

With the family luncheon finished, dessert came out and I made a bee line for the Napoleonki slice and with just one bite I was transported to my childhood days of eating desserts a plenty without a worry in the world. Days of Polish family gatherings where the tables were filled with food as far as the eye could see and laughter, banter and eating went on forever!

One of the things I love about cooking and eating, is how it can make you feel, the memories that it can create and the memories that it can bring back.

Having finished my slice I knew what I had to do next and that was to make very first Napoleonki!

So my dear friends, what’s a dish that brings your childhood memories flooding back?

Bella

How To Make A Broth, Stock or Bone Broth

Broth, Stock or Bone Broth… What is the difference between the three? Is there a difference between the three?

There’s no mistaking what a stock is or a bone broth is but it can become a little unclear as to where a broth stands, here is my interpretation of the three…

How To Make A Broth, Stock or Bone Broth

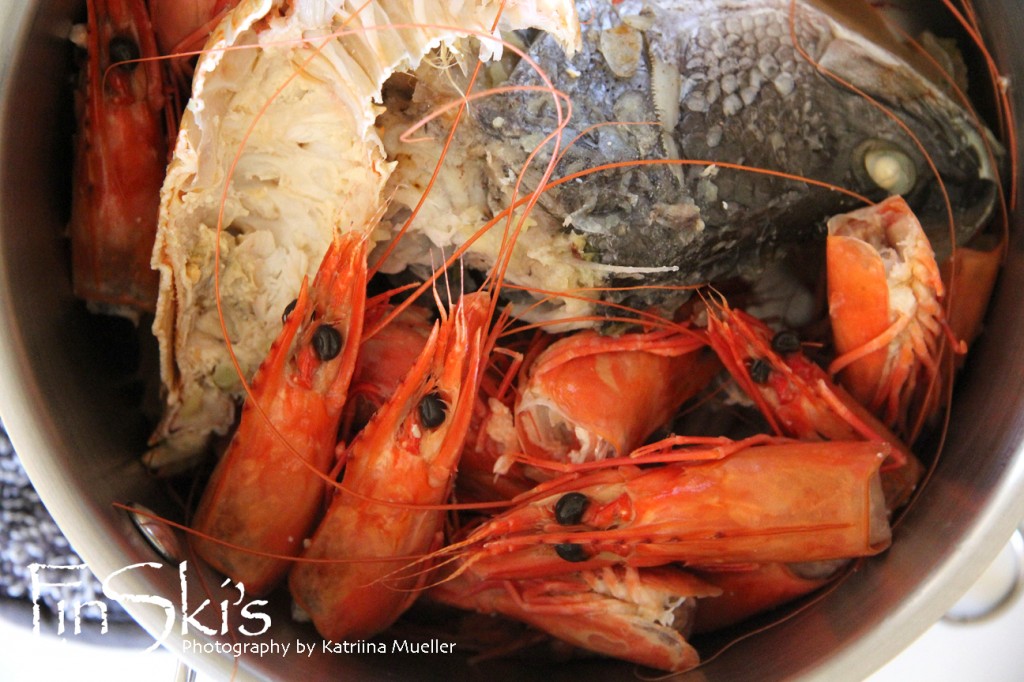
Broth -Think of a broth as the finished product, a soup in a sense… Chicken Soup or Won Ton Noodle Soup all use a broth. It is a gently flavoured liquid that is made by flavouring water with meat, or very meaty bones, carrots, celery, light herbs, onion and most importantly seasoned with salt. It is lighter in flavour compared to the stock and bone broths and is always clear and thin, which is an absolute necessity in asian cuisine. 

The cooking time is much shorter compare with the other two methods, around 40 minutes (unless you are poaching a whole chicken).  There are no added health benefits to an extended cooking time for broths, and it will even negatively affect the flavour of your broth, especially if you are making a fish broth, which will turn bitter if cooked longer than 30-40 minutes. All the flavour and nutrients you want will be leached out into the liquid during this short cooking time.

My favourite broth is a chicken one. By poaching a whole chicken in water with the addition of carrots, onion, celery and seasoned well with peppercorns and salt, you end up with beautifully moist meat and a broth that is delicious and effortless – this method takes about 1 hour 20 minutes as it’s the whole chicken. The benefit of this method is you have a lot of meat leftover that can then be made into pies or a salad through the week along with plenty of chicken broth. As a bonus, the chicken carcass can be incorporated into a bone broth, just freeze till required.

Broths will remain quite fluid as opposed to the stocks and bone broth, which with their naturally high gelatin content, will turn to jelly once refrigerated. 

Vegetable and fish broths do not benefit from long cooks.

How To Make A Broth, Stock or Bone Broth

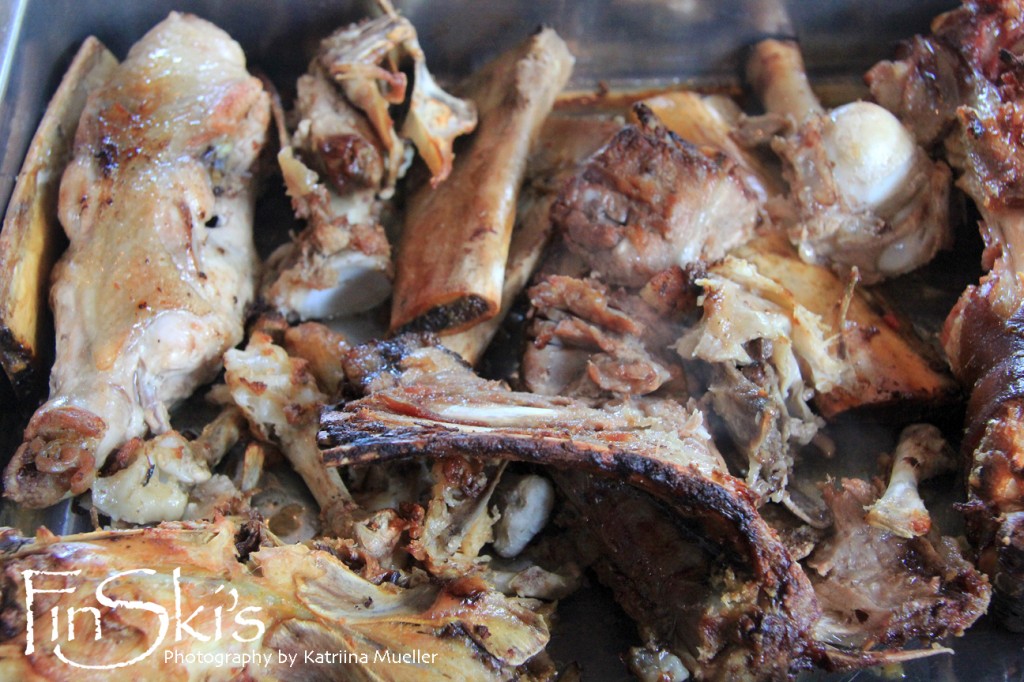
Stock – Is a component of cooking, it’s used to add body and flavour to a dish, generally not to have on it’s own, think of risotto, stews or gravy. It is made with well roasted bones –  ideally with quite a bit of meat still left on them for the extra flavour, and vegetables. Roasting the meaty bones is necessary to a good quality stock as you want rich, well developed flavours in a stock, which the roasting of the bones and vegetables will do. Un-roasted bones will leave a slightly odd, unpleasant flavour to the liquid.

Stocks are generally cooked for 6 -12 hours.

As I make quite big batches of stock at one time (10-12 cups worth) I personally choose to keep the added flavours of vegetables and herbs to a minimum, this way I can alter it to lean toward a particular cuisine when I want to. It’s still a very rich stock just not heavily loaded with flavours outside of the roasted meaty flavours.

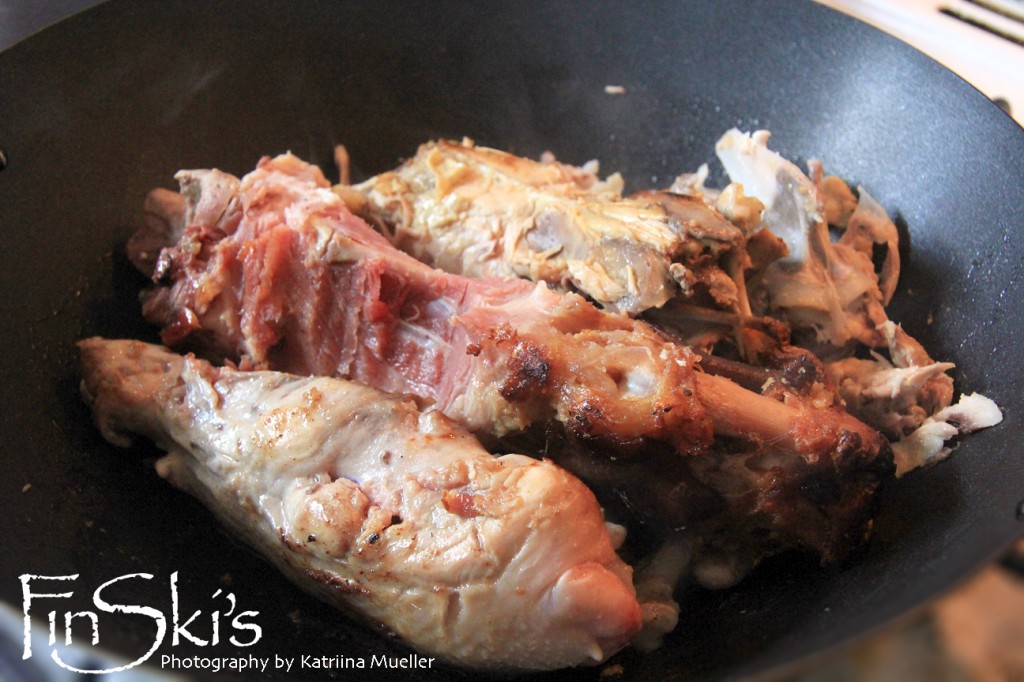
Remember to keep all your bones from the roasts you make, in the freezer till you are ready to make your stock. My favourite stock combines the meaty bones of various beasts with the addition of a rabbit carcass  – the flavour is magical!

How To Make A Broth, Stock or Bone Broth

Bone broth – Think of bone broth as homemade medicine. Made to be drunk straight, especially the first ‘pressing’, it is the holy grail of the stewing liquids. Used for speeding the healing, repair and recuperation time from illness, reduce joint pain, reduce inflammation, prevent bone loss and build healthy skin, hair, and nails. Certain amino acids that come mostly from the bones can assist with a healthy gut and digestion, a balanced nervous system and strong immune system – just as chicken soup (using the whole chicken) has been proven to aide in healing, bone broth takes it that next step further. Made using mainly the bones – as that is where the amino acids and minerals will be coming from, it’s the very long stewing time, combined with a vinegar solution to draw out certain minerals, that makes the bone broth highly regarded for it’s health benefits. If you are making bone broth you are making it because of it’s centuries known health benefits, otherwise you would stick to stocks.

To get the most out of the bones do your best to source organic or biodynamic animals and birds,100% grass fed beef, pasture raised chickens… basically any animal or bird that has been raised well and healthily as you are making this bone broth for it’s health benefits so the bones need to be from the healthiest animals possible… and keep them all! As you come across them, bag and freeze them; accumulate them so you have a nice mound of bones, raw chicken carcasses etc to make your broth or stock. Continue reading “How To Make A Broth, Stock or Bone Broth”

Brown Sugar & Cinnamon Belgium Waffles w/ Oats

Finding Feasts - Belgium Waffle w Oats
Click image for recipe

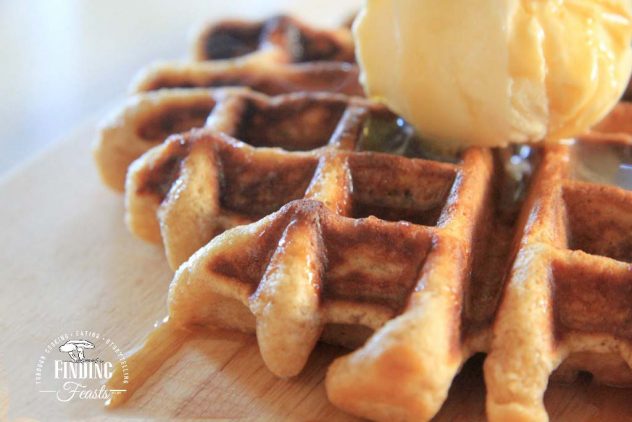
Brown Sugar & Cinnamon Belgium Waffles w/ Oats, or more appropriately, The Best Darn Waffles You Are Ever Going To Eat!

After stumbling across a Nordic Ware Stovetop Waffle Maker at a charity store recently, I was on a mission to find the perfect recipe. Bella’s hubby has found his recipe and can make it in his sleep if need be; happily making them on the weekend for their daughter. BTW, if you are looking for a waffle maker, this one is fantastic, I cannot recommend this one enough; slim line means it slides in with your chopping boards – minimal loss of space plus makes the prefect belgium style waffle with the deep holes and perfect texture. Downside is you need to keep an eye on the time.

I didn’t want a fussy recipe, some asking to separate the eggs and whip the egg whites to stiff peaks before folding it in to the batter; one step too much for first thing in the morning for me. I wanted a quick, tasty recipe that produced a crispy outside and a soft fluffy inside… every time! …and here it is… Just two bowls are needed: Mix the dry ingredients together in one bowl, melt the butter in another then add the rest of the wet ingredients, combine the wet with the dry and you’re done, easy.

You could almost trick yourself into thinking that these were kind of healthy since there are oats in the mix – whatever you need to do to make it alright to eat waffles, do. Just make sure you give this recipe a go!

Finding Feasts - Belgium Waffle w Oats


Deliciously naughty breakfast -Blondie 🙂

Wild mushroom soup

Finding feasts - Wild mushroom soup
Click image for recipe

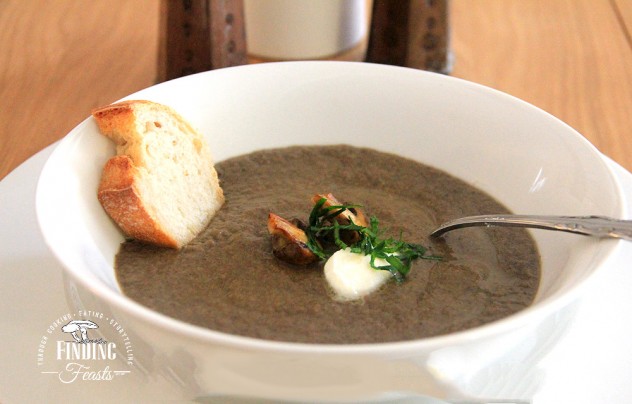
Warm up this winter with a beautiful wild mushroom soup!

With winter finally arriving in Sydney (although obviously not today as it is going to be 25 degrees!) I decided to celebrate the cold July by throwing a Christmas in July dinner party. Menu planning had begun many weeks ago! Books were gone gone through, magazines pulled, lists made up, list torn up only to be made up again. This was no ordinary dinner, I wanted to show case skill, technique and obviously good hearty dishes. A three course feast was settled on, consisting of entree and main prepared by me and dessert by Blondie.

The menu consisted of…

Entree
Wild Mushroom Soup

Main
Sous vide Chicken, Wilted Greens, Verjuice Butter Sauce

Dessert
Yoghurt Panna Cotta, Poached Pear & Quince, Pecan Crumb & Frozen Chocolate Wind

Being Polish I’m no stranger to soups, they were and still are a daily staple and on the menu at mums place so when it came to the entree for our Christmas in July dinner, Wild mushroom soup was a no brainer decision.

Mum make what I would say one of the most amazing wild mushrooms soups from a recipe that was handed down to her my my fathers mother, my Babcia and whilst its pretty amazing for this dinner I wanted to try something a little more hearty, full of body.

Pen and paper in hand I jumped onto the trusty internet and the research had begun. I must have looked at hundreds of mushroom soup recipes and they all looked very similar to each other until I came across Jamie Oliver’s The Real Mushroom Soup recipe. It looked earthy and full of flavour.

Decision made!

I of course didn’t follow the recipe too the tee, and used my private stash of FinSki’s Saffron Milk Cap and Slipper Jack mushrooms.

I had some tough critics to please that night…the husbands, but the finger licked bowls spoke for themselves.

Will I be making this again…a definite YES!

Bella 🙂